Protein ice cream has become a popular lower-calorie and higher-protein alternative to traditional ice cream. The best part is that you can easily make protein ice cream at home in a blender! This gives you full control over the ingredients so you can customize the flavors and macros to your liking.
I’ll walk you through the entire process of making protein ice cream in a blender, from the ingredients you’ll need to blend techniques for creamy, scoopable results. I’ve also included some of my favorite flavor ideas like chocolate, cookies and cream, mint chips, and more. Let’s get started!
Ingredients for Protein Ice Cream
Protein powder – This serves as the base of the ice cream. Whey and casein protein powders work best.
Milk or milk alternative – I recommend unsweetened almond milk or skim milk. This adds creaminess.
Sweetener – Use a natural zero-calorie or low-calorie sweetener like stevia or monk fruit.
Flavorings – Mix in extracts, cocoa powder, nut butter, crushed cookies or candy, fruit, etc.
Ice – Ice helps give protein ice cream a creamy, scoopable texture.
Xanthan gum – Just a tiny bit of this thickener helps prevent iciness.
Steps to Make Protein Ice Cream

- Prepare your blender. Use a high-powered blender like Vitamix or Ninja to get the smoothest, creamiest texture. Make sure all parts are fully assembled and secured.
- Add your milk and sweetener. For 1 serving, start with 1/2 cup to 3/4 cup of milk. Add sweetener to taste, starting with 1-2 tsp.
- Add protein powder. Use 20-40 grams of protein powder per serving, or follow amounts in product directions.
- Include flavorings. Mix in extracts, cocoa, nut butter, or anything else you want to flavor your ice cream.
- Add xanthan gum. Just 1/4 tsp helps with texture. Sprinkle over other ingredients.
- Blend the base. Secure the lid and blend ingredients for 30 seconds until fully mixed and smooth.
- Add ice. Pour the ice into the blender. For 1 serving use 1 cup or about 2 handfuls.
- Blend again. Blend for 1-2 minutes, stopping to stir with a spoon and scrape sides as needed.
- Repeat ice and blend. Keep adding more ice and blending in batches until thick and creamy.
- Scoop and enjoy! Transfer to a freezer-safe container to firm up before serving.
Tips for the Best Texture
- Use a high-powered blender capable of crushing ice smoothly. Regular blenders may not blend ice properly.
- Add ice gradually and blend in batches for even consistency. Don’t overfill with ice.
- Stir and scrape down sides as needed while blending. The spoon helps distribute ingredients.
- Let protein ice cream firm up in the freezer for 30 minutes to 1 hour before scooping so it holds its shape better.
- Store any leftovers in a sealed container in the freezer up to 2 weeks. Let sit at room temperature 5-10 minutes to soften before serving again.
Flavor Combination Ideas
Now comes the fun part – picking your own protein ice cream flavors! Here are some of my favorites to inspire you:
Chocolate Protein Ice Cream
- Cocoa powder
- Chocolate protein powder
- Chocolate extract
- Peanut butter
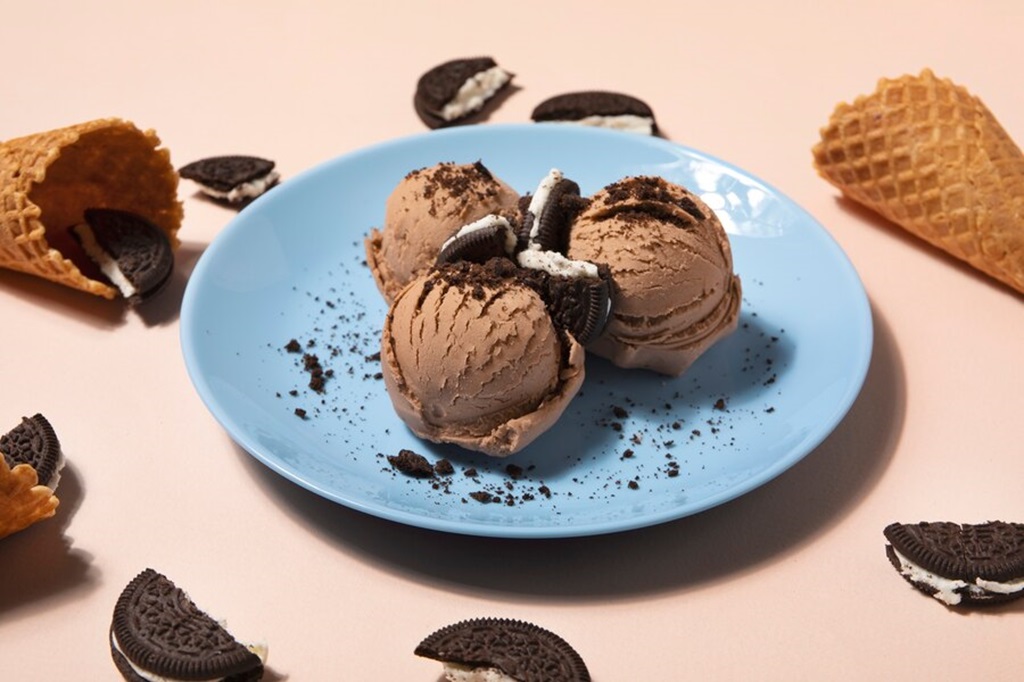
Cookies and Cream
- Vanilla protein powder
- Crushed Oreos or chocolate sandwich cookies
Mint Chocolate Chip
- Vanilla or chocolate protein powder
- Peppermint extract
- Mini dark chocolate chips
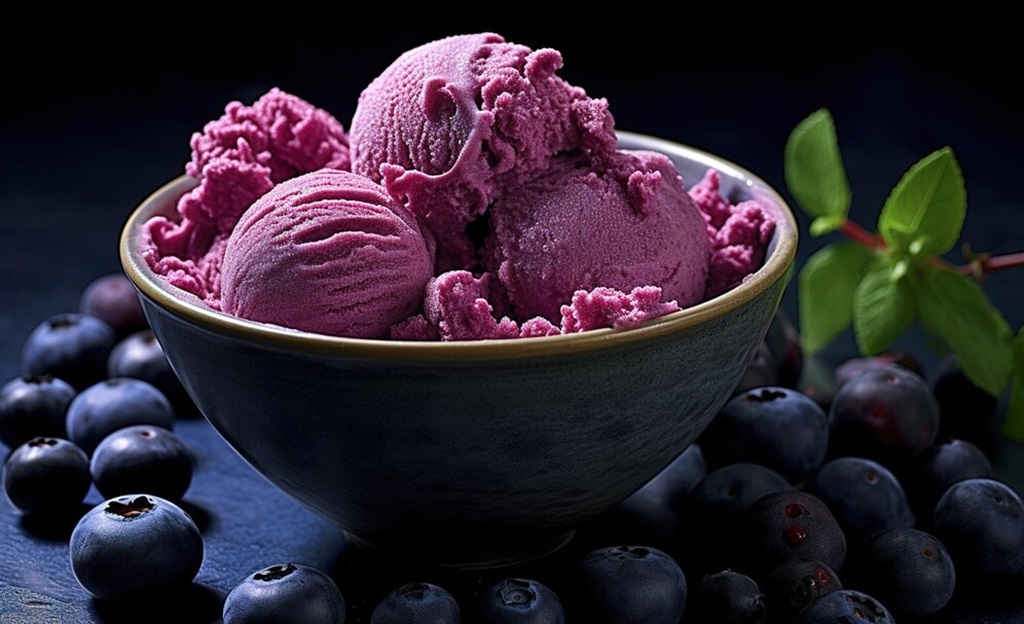
Strawberry Cheesecake
- Vanilla protein powder
- Strawberry puree
- Cream cheese
S’mores
- Chocolate protein powder
- Mini marshmallows
- Graham cracker crumbs
The possibilities are endless when making your own protein ice cream at home. Let your creativity run wild with ingredient combinations and flavors! Adjust the recipes to hit your preferred macros as well. Homemade protein ice cream is tasty, nutritious, and fully customizable.
Conclusion
Making your own protein ice cream at home is simple with just a few basic ingredients and a good blender. The process takes less than 15 minutes for a healthier, lighter ice cream that’s packed with protein.
Customize your protein ice cream with different flavors, mix-ins, milk substitutes, and protein sources to fit your dietary needs. Experiment until you create the ultimate protein ice cream that tastes just as delicious as the unhealthy alternatives.
Whip up a batch on a hot day or after a tough workout when you’re craving something cold, sweet, and protein-rich. Protein ice cream is sure to satisfy you!
FAQs
Can I make protein ice cream without a blender?
While a high-powered blender works best, you can try making it in a regular blender or food processor. Just be aware you may not get as smooth of a consistency.
What can I use instead of xanthan gum?
Small amounts of guar gum or psyllium husk powder can be used. Or try using an extra egg yolk or half a banana for natural thickness.
Is protein powder necessary?
You can make a lower-protein ice cream by omitting protein altogether or using Greek yogurt instead. But the protein powder helps build the creamy texture. Most recipes call for at least 20 grams.
Can I use whey, casein, egg white, or plant-based protein?
Yes, you can use any type of protein powder. Whey is absorbed faster, while casein is slower digesting. Egg white protein gives a fluffier texture. Vegan proteins like pea and rice protein work too.
What milk alternative can I use?
Besides skim milk, you can use unsweetened almond milk, coconut milk, oat milk, or soy milk. Just avoid thick, full-fat milk as it may not blend as smoothly.